My adventures and advice on fulfilling orders for a printed self-published book
First off, let me say — if you're self-publishing, going digital-only saves so much stress and work.
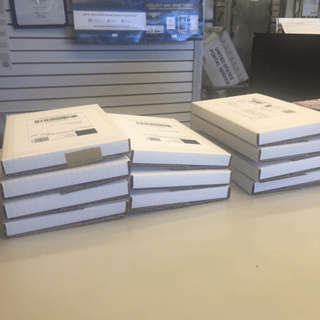
However, I just couldn't resist creating a physical book. I mean, look at this:
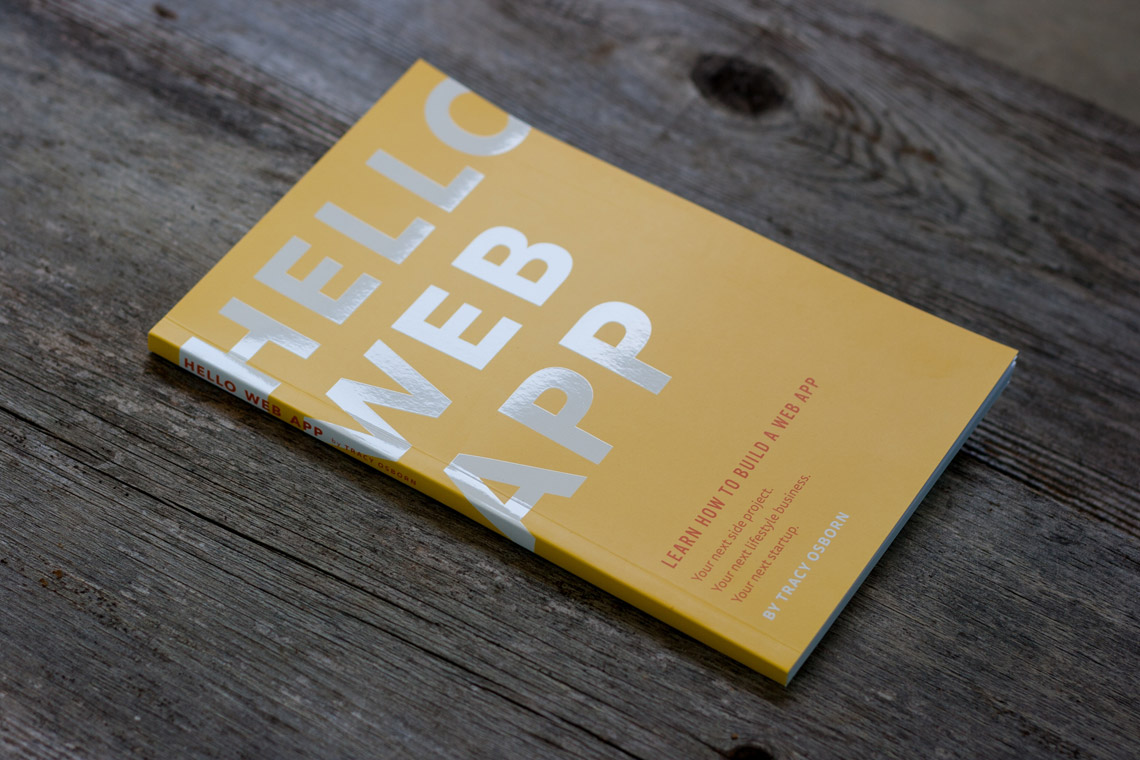
Having a physical book makes in-person promotion easier too. "Oh yeah, I wrote this book, you should check it out," doesn't hold a candle to pulling the book out of your jacket for people to ooh and ahh over in person. Not to mention that some people prefer to read from printed materials rather than from screens.
I touched upon how I got Hello Web App printed in my last article — essentially, I am a huge fan of PrintNinja and you should use them too for your printing needs. Their quality is top-notch and their support is fantastic.
So, you're like me, self-publishing a book, and you order 1,000 books from your printer. They arrive at your door. You have orders in your inbox. Now what?
I worried a lot about making sure the book was protected without spending an arm and leg on packaging supplies. The packaging needed to be fairly light too, since added weight meant more expensive postage.
Version one
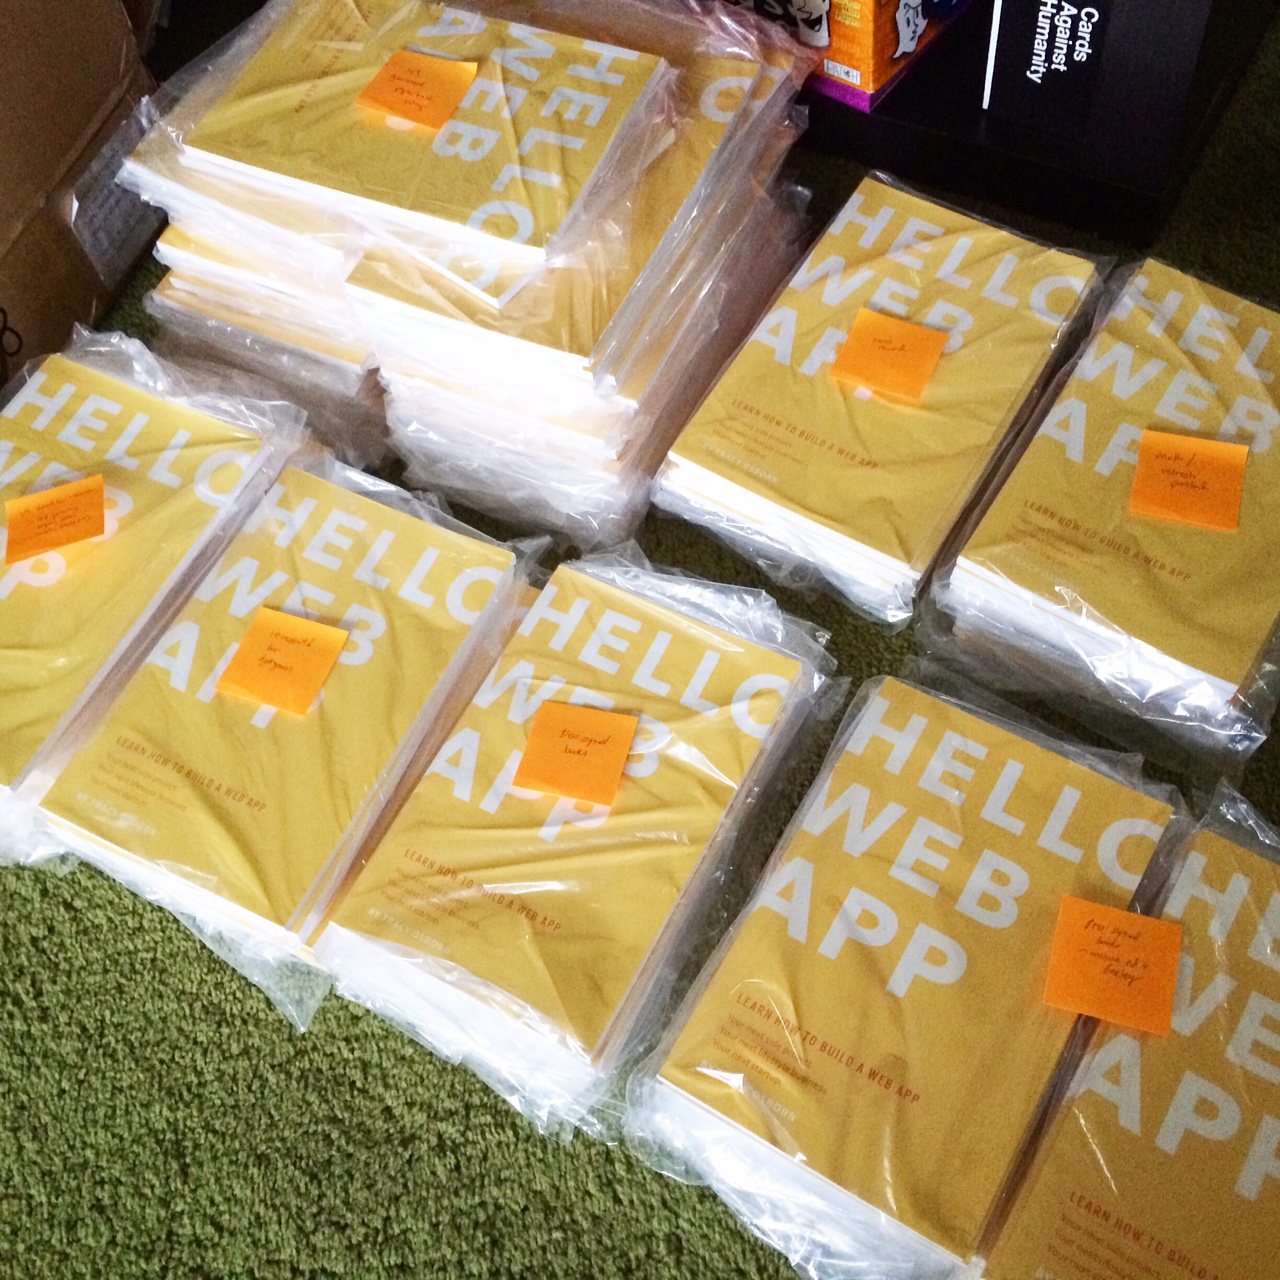
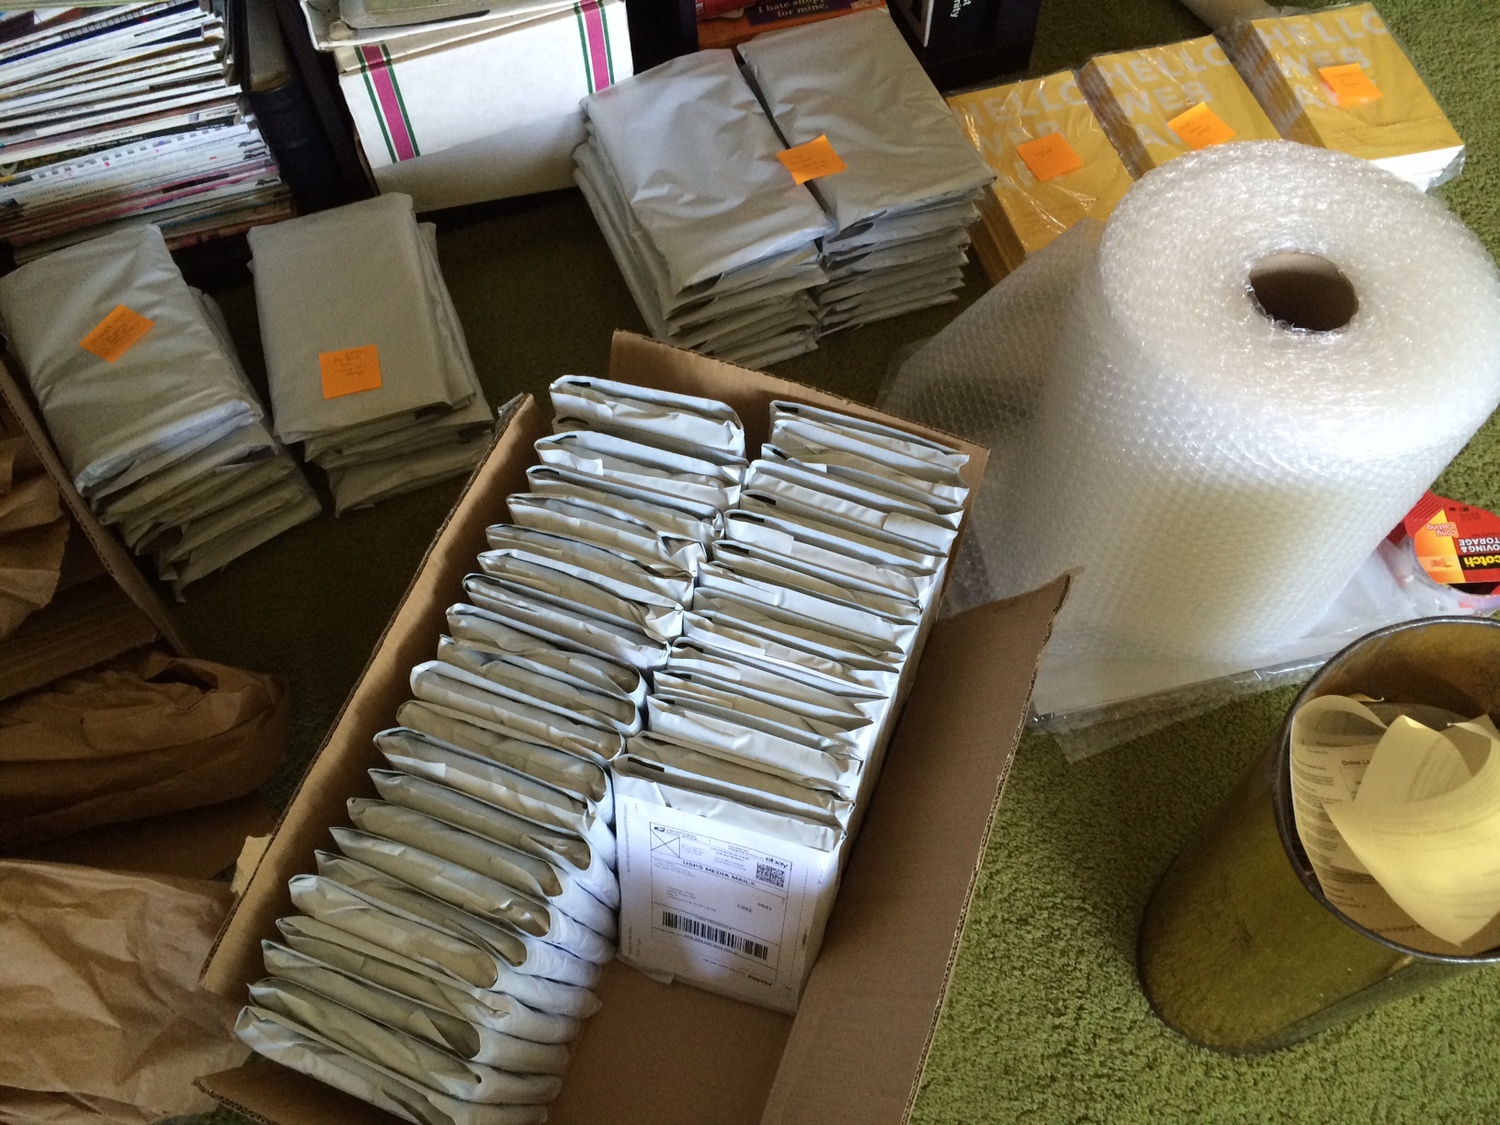
Originally, my books were wrapped in a gallon storage bag (the twist tie wasn't used, the open end was just wrapped around the book), then wrapped in a sheet of bubble wrap (this roll has perforated sheets, a big time saver, and the bubble wrap is then taped securely around the book with special attention paid to the corners), then stuffed in a poly mailer.
The biggest issue with this is the packages are still semi-pliable. An overly enthusiastic postal worker could bend the book in half if he or she really wanted to. A dropped book could get bent corners. Thankfully, I've never received a complaint, but it was a constant worry.
A good three hundred or so books were shipped out this way.
Version two
Thankfully I discovered that Amazon sells cardboard mailers that wrap well around paperback books.
The books still get the gallon bag + bubble wrap treatment (which hopefully makes the packages waterproof as well), then they're wrapped and taped in the cardboard mailer. The books don't move, they still have bubble wrap padding, and they have corner protection as well.
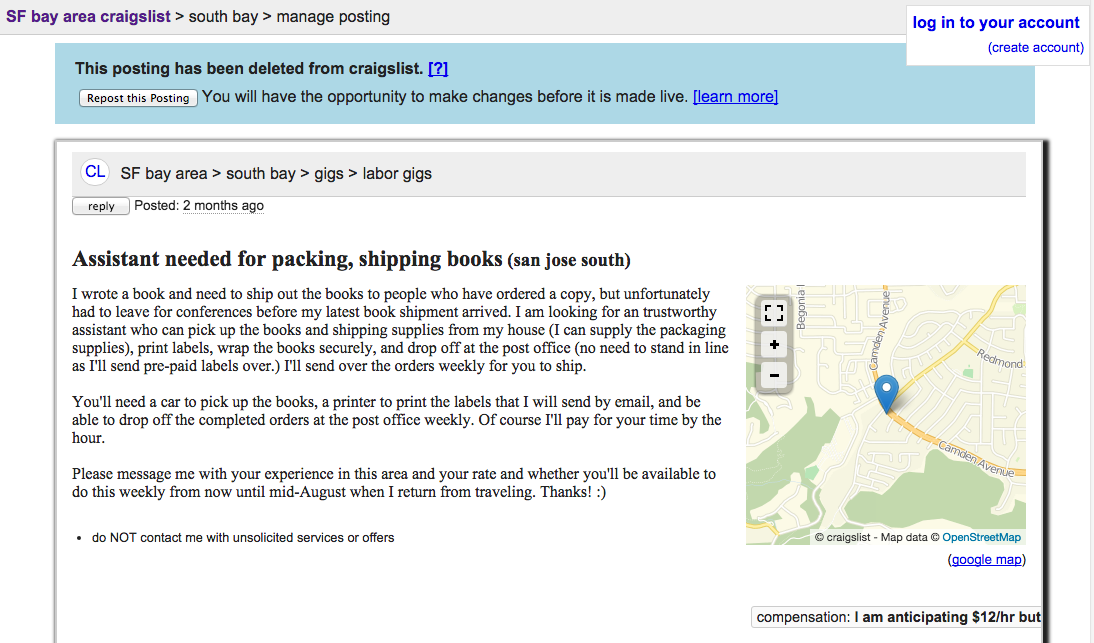
Hiring an assistant for packaging
Sometimes I make silly decisions, like deciding to live abroad for the summer immediately after my book launch. I'm currently writing this from Budapest!
Right now, I create and send over the labels for the week on Thursday, she ships on Friday or Saturday, and I pay using Venmo on Sunday.
Label creation
This turned into the worst part about shipping books.
First off, if you're shipping books in the US, did you know about Media Mail? It is a significantly cheaper postage rate reserved for books and educational materials. There are a few additional rules involved — for example, you can't include anything else in the package, like a thank you card. Make sure to read up on the rules before you use it. If you're shipping books though, it's the way to go (domestically, at least).
One last product shoutout — all labels were printed onto fancy label sticker paper (separate papers exist for laser vs. inkjet, both linked are ones I've used and recommend). I could have saved money by printing on plain paper and taping but the time involved did not seem worth the cost savings.
Making labels the hard way
I needed to find a way to create labels automagically from CSVs downloaded from Kickstarter and Gumroad.
You can create labels from a CSV on USPS.com, but you can't create media mail labels. Unfortunately, the only service online that takes a CSV to create media mail labels is through Paypal. I could still use USPS for international labels, however.
The original shipment of three hundred or so books was created using these two services.
It was terrible.
I would take my CSV, and split it into two depending on whether it was domestic or international. Each service had its own nitpicky requirements for the CSV, so each CSV had to be formatted correctly. Of course, with Paypal, would still throw errors about half the time.
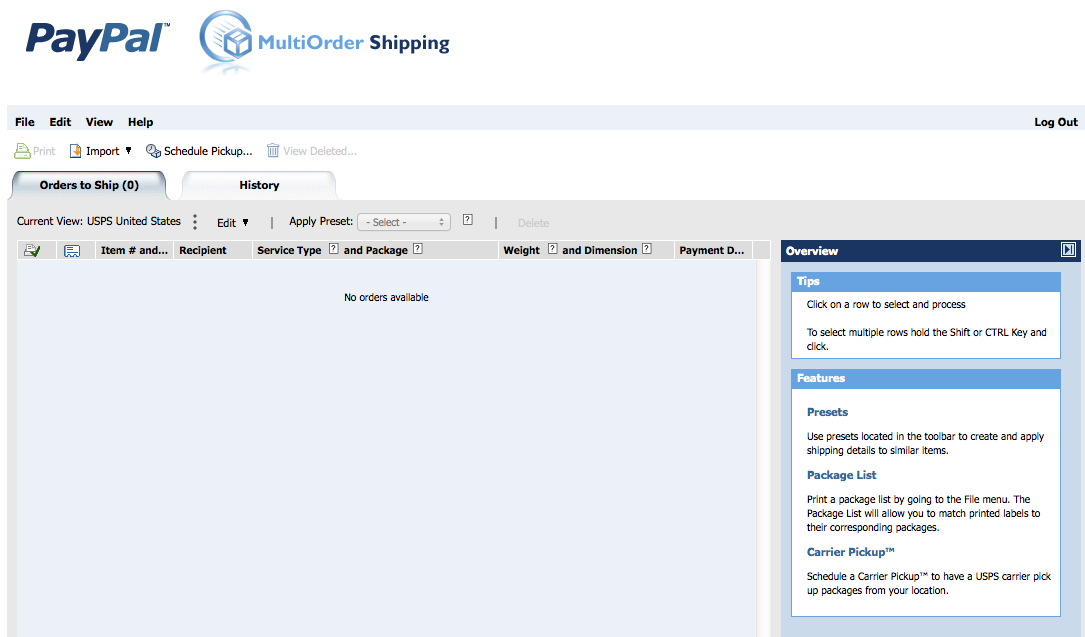
I would feed the CSV into Paypal, where I could at least generate all the labels at once. However, about 50% of the time I would forget to choose the tiny drop down to set the correct shipping date for the books, as I was creating the labels early (you need to ship within 24 hours of the data specified on the label, and it would default for that day). Refunds for labels with incorrect dates would take 3-4 weeks and I was warned that it was up to USPS to decide whether to refund or not.
Once I got the labels, they would be formatted with one label per sheet, so I would stop printing halfway through to rotate the paper so I didn't waste half of my fancy label paper.
Oh, and Paypal would ask me to use a "modern browser" and wouldn't let me use Chrome. Of course.
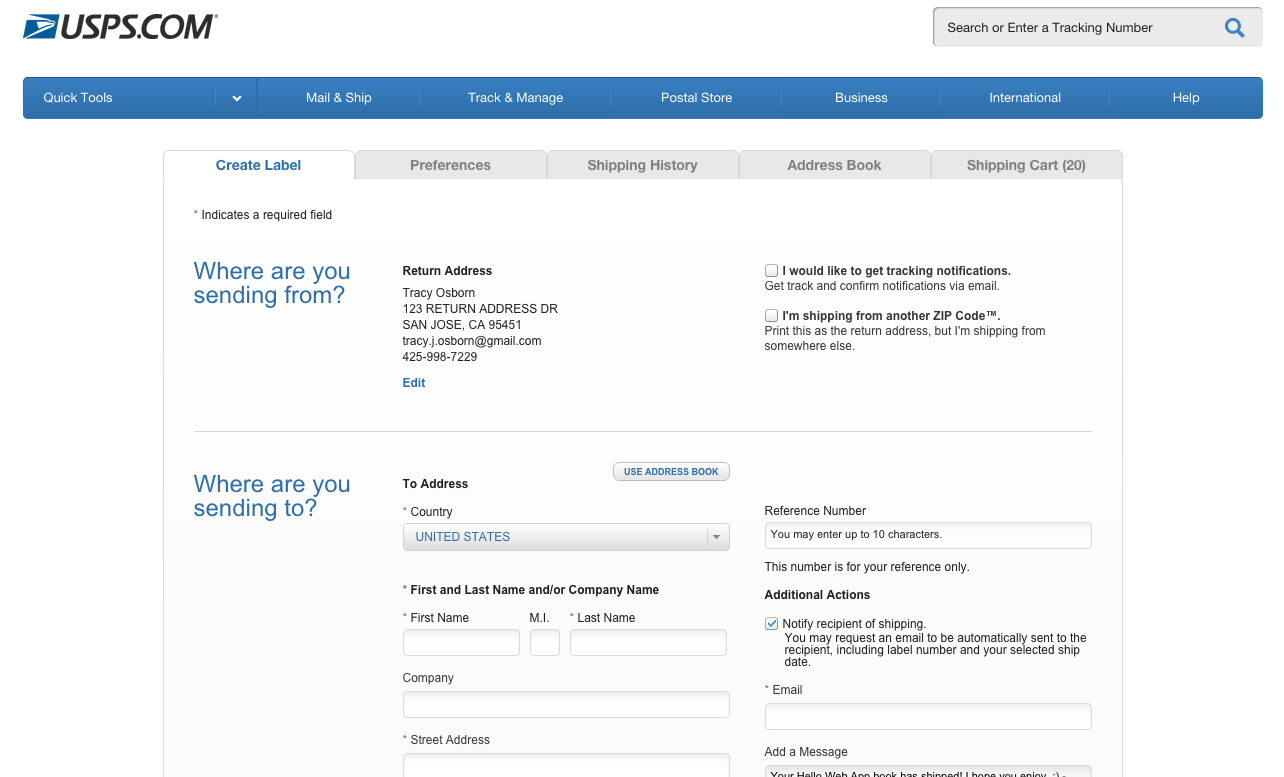
As for USPS... I could upload the international CSV as "contacts", and one-by-one, create an international first-class label (no mass-creations here, folks). Of course, these labels had to print with half a page of disclaimers and whatnot so I had to waste an entire sheet of paper per international label.
This process sucked, and I thought it was my only option.
The tipping point came when I started traveling internationally, and USPS would not let me use its website to create labels. None of the errors were useful. As far as I could tell, this was a fraud prevention mechanism. Even though I was creating labels for my California-based shipper, I personally was not in the United States and therefore was banned from label creation. I was finally forced find a better solution.
One last shoutout to terrible services — don't try out stamps.com, it signs you up automatically to a subscription product and requires you to call to cancel the product. Screw them.
Making labels the easy way My husband, at the beginning of this process, recommended EasyPost. I didn't get past the headline, "Shipping for developers: Integrate USPS, UPS, DHL and FedEx shipping APIs into any application in minutes." I didn't have an app and didn't feel like I had the time to create an app just to use EasyPost.
But of course, you don't have to make an app to use something like EasyPost — just create a script. Duuuh. Smacking my head in hindsight.
I spent the afternoon writing a tool that would take a CSV and use EasyPost to generate labels for every address. The code can be seen below — it uses the Hello Web App values but should be easy enough to figure out how to update to your own needs.
The script creates a folder of labels, which then I made another tool to grab the images, resize them and rotate to fit two-per-page.
You can see everything here on Github, including requirements and whatnot. Again, there is still Hello Web App specific code in there (hardcoded values for the size and weight of the packages) but it's easily updatable — feel free to make a pull request too if you want to update it.
Now, as orders roll in for Hello Web App, I add them to a spreadsheet. On Thursdays, I download the sheet, load my EasyPost test key, test out the script. Everything looks peachy, I load the live key and generate the labels. I then run the image script to generate the labels two-per-page, and then I use Preview to open all generated pages, and save as a multi-page PDF for my assistant to print. So much easier.
That's how I ship Hello Web App! I also sell through Amazon, which involves an Amazon Advantage account and Amazon periodically sends me emails asking for me to send books to them, and they take care of the rest. Not nearly has interesting as fulfilling directly.
I have quite a few other articles about the Hello Web App design and production process that you might want to read:
- I self-published a learn-to-code book and made nearly $5,000 in pre-orders
- Hello Web App's Kickstarter campaign: How I did it, what I regret.
- Economics of self-publishing a book via Kickstarter: Hello Web App's story
- Designing and printing Hello Web App's PDF and paperback editions
Of course, you should buy Hello Web App if you're interested in learning web app development. You can download a sample of the book by signing up for the newsletter at the bottom of this page.
See more discussion about this post on Hacker News.
You should follow me on Twitter for more fun self-publishing tidbits, startup whining, and dorkiness: @limedaring
Thanks for reading!